
PulseHeberg offers a list of several operating systems with automatic installation, however Windows is not yet available for automatic installation at this time. Our teams are working on adding it right now.
To install Windows manually, simply follow this guide.
To get started, go to the management panel of your VPS:
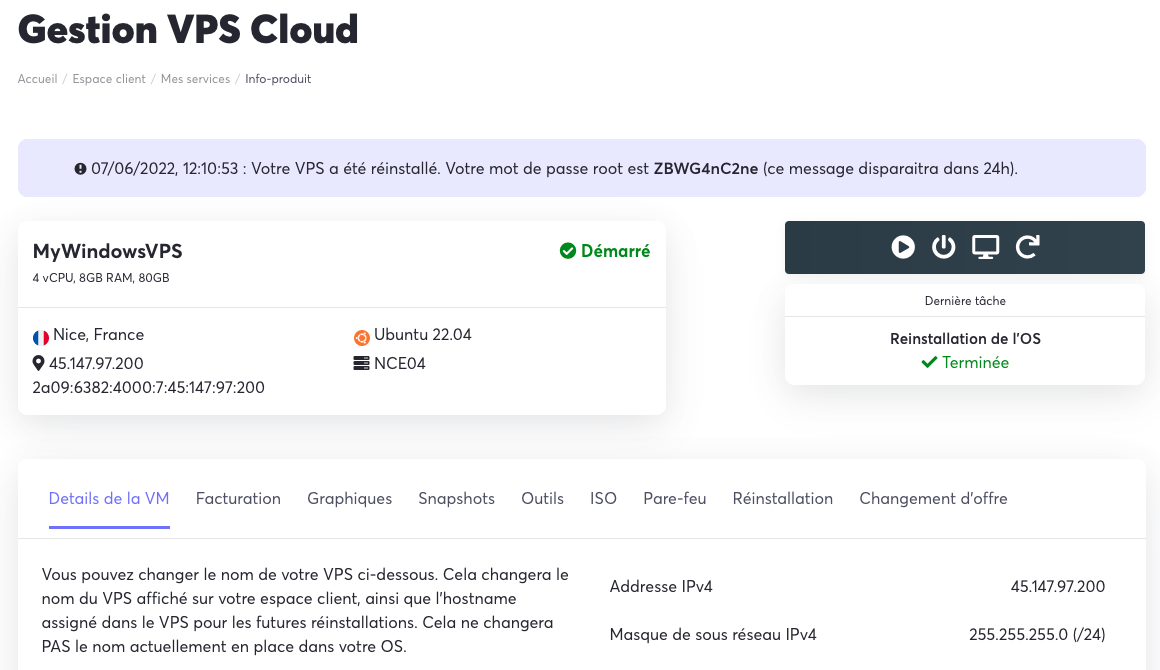
By default, it is installed with the OS chosen during the ordering process or the last reinstall. To install Windows manually, we need to mount an ISO. To do this, go to the ISO tab:

In the list, look for the OS of your choice, in this case we will take Windows Server 2022:
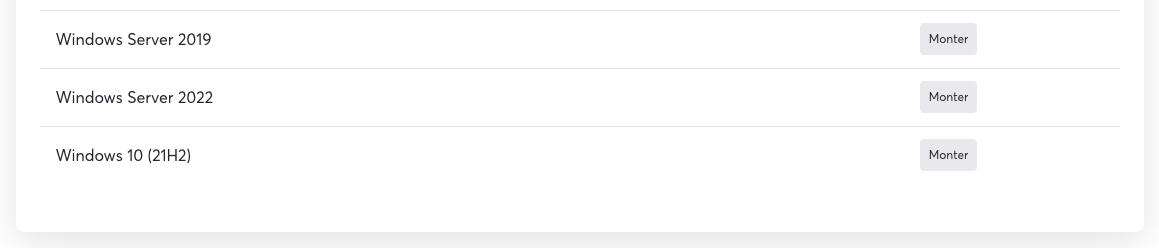
Click the Mount button next to the desired OS. A message will then confirm that the VPS is booting on the selected ISO:

In the upper part of the panel, choose the VNC console:
A window will open with the console of your VPS:
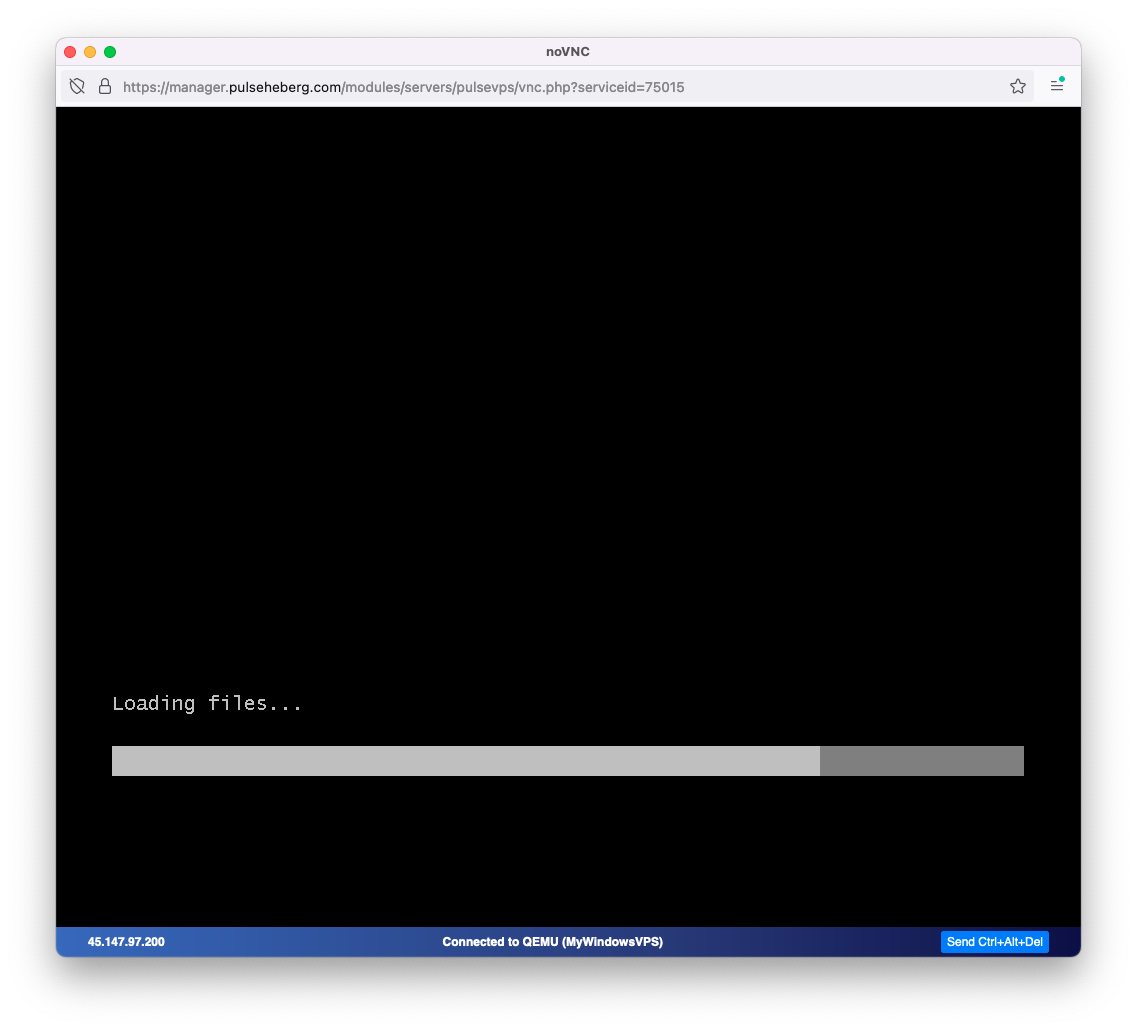
After a few moments, the installation process begins:
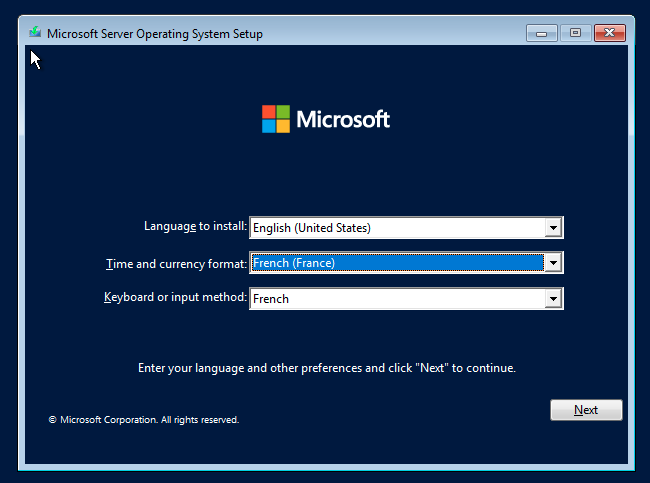
In our case, we chose Time and currency format and Keyboard or input method in French. By default the OS is in English, and you will be able to change the language later after installation.
Once you have selected the right settings, you can click Next. The following screen then appears:
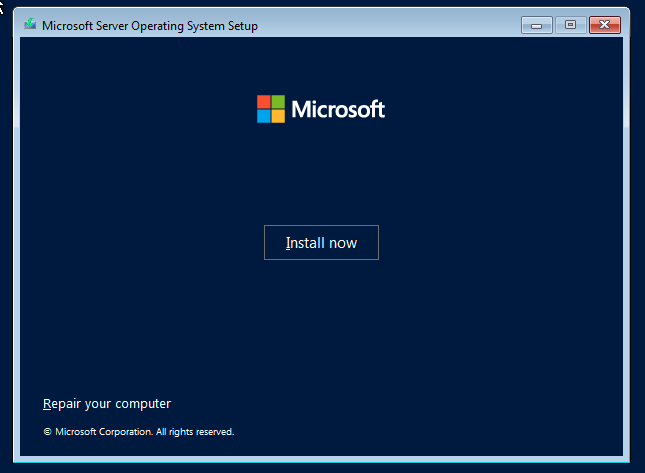
Click Install now to start the process. The installer will ask you to choose your edition of Windows:
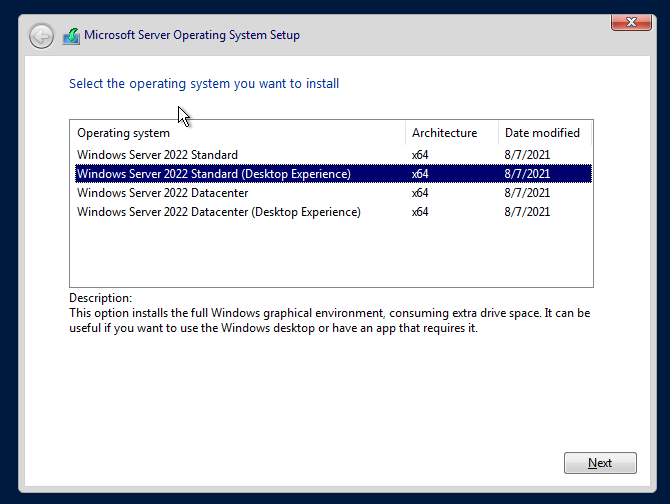
In our case, we took Windows Server 2022 Standard with Desktop Experience.
Once the system is selected, click Next. You will then arrive at the Microsoft license agreement screen:
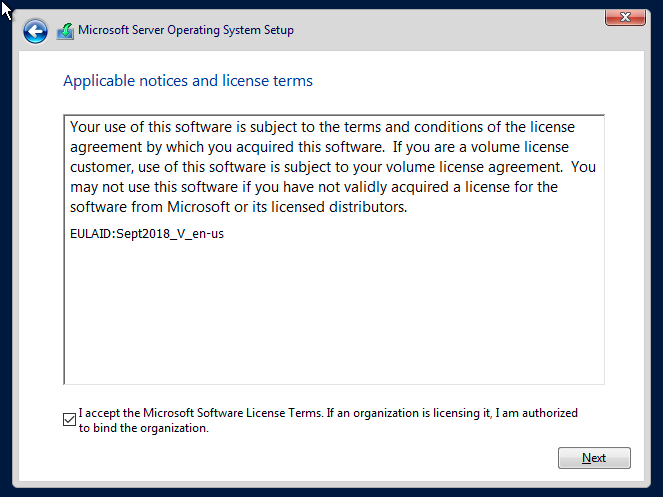
Read the terms, then check the I accept box and click Next.
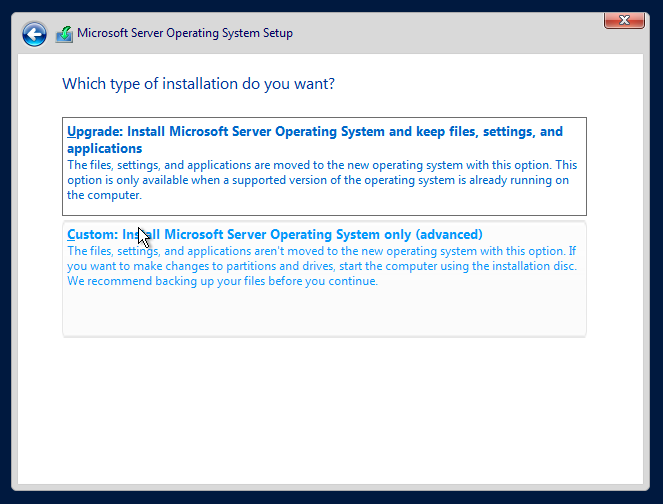
On the next screen, to install the system click Custom : Install Microsoft Server Operating System only :
You will then arrive in the Windows partitioning tool:
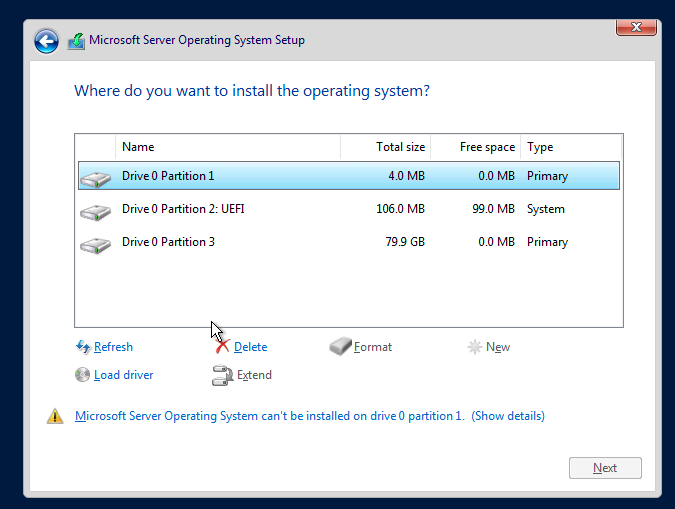
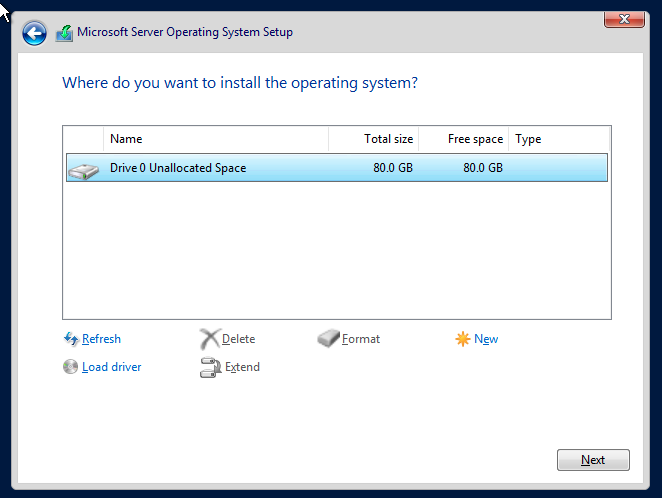
We recommend deleting all partitions. To do this, select each partition one by one and click Delete. You should see this:
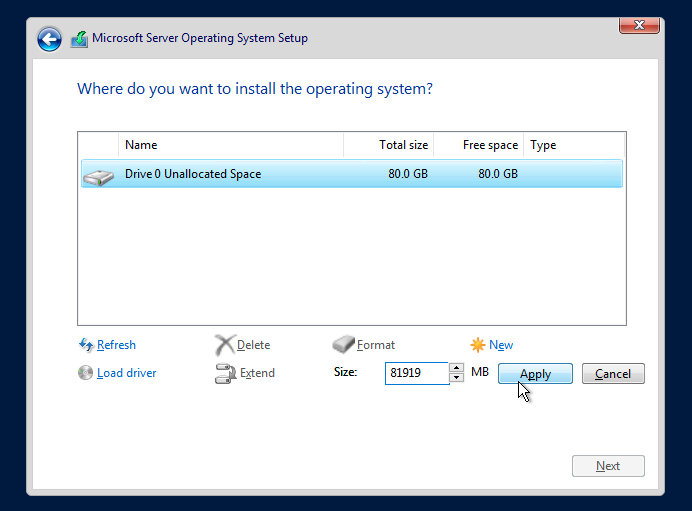
Click New and then confirm the maximum size for the partition:
Two partitions then appear:
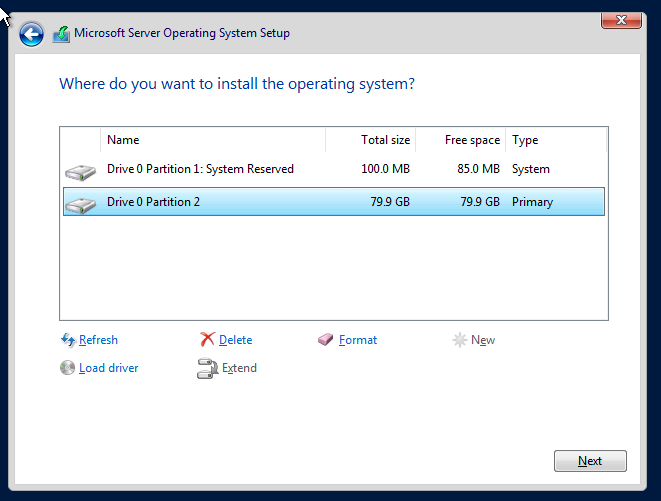
Select Partition 2, which contains most of the disk space, then click Next.
The installation process starts and copies the files:
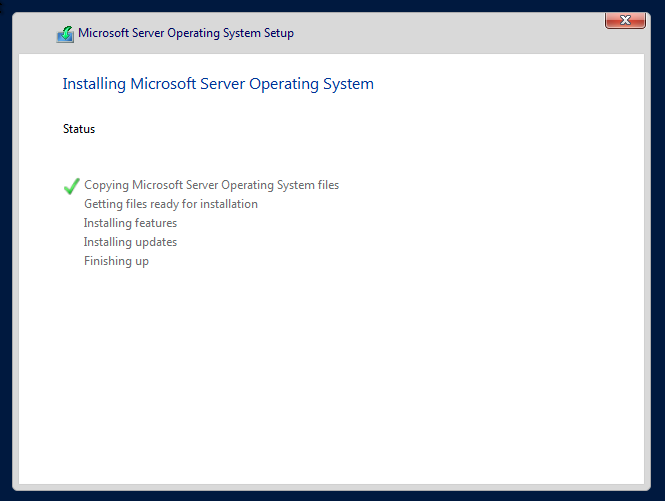
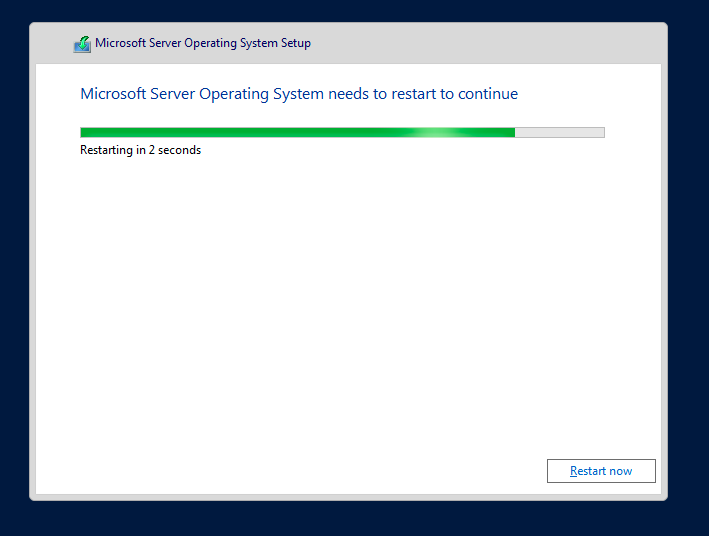
At the end of the installation, the VPS will restart automatically:
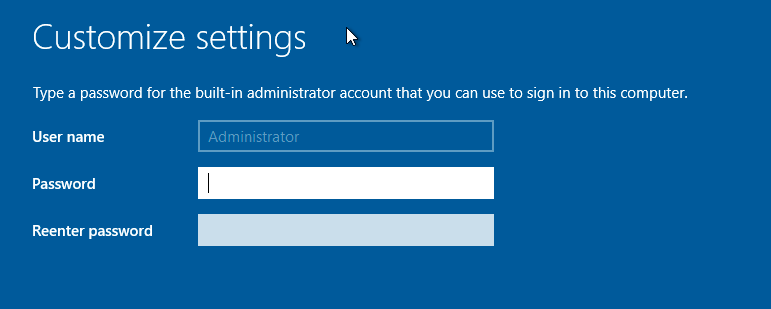
On first boot, Windows will ask you to set a password for the Administrator account:
Once the password is set, the Windows login screen appears:
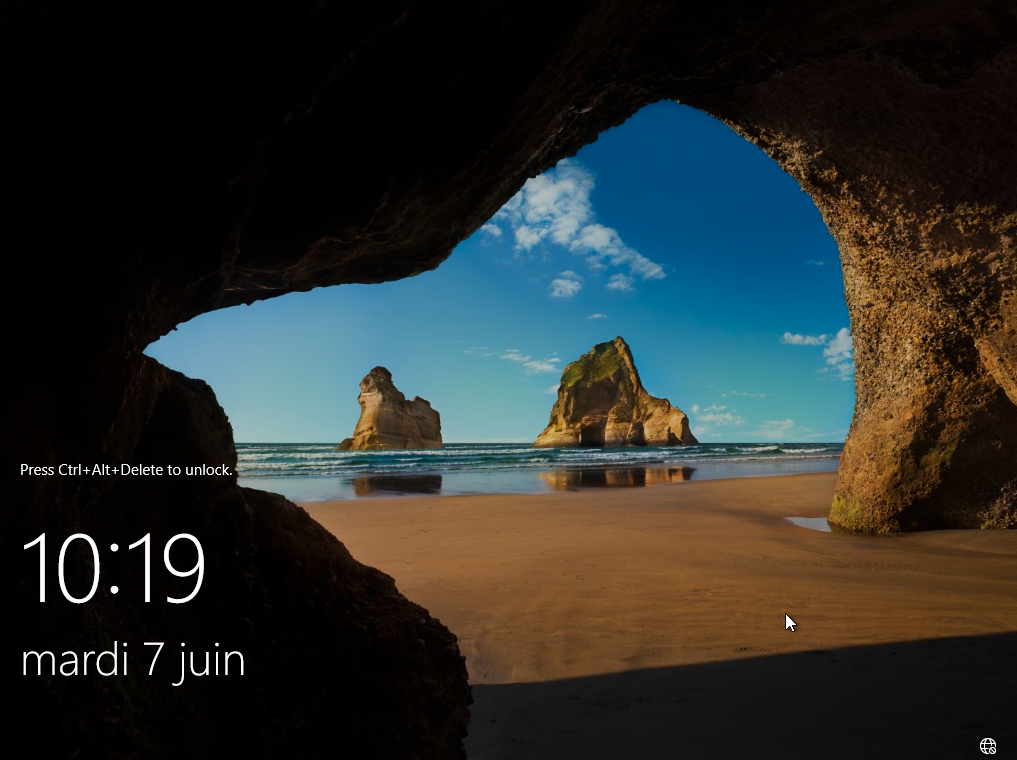
Click the Send CTRL+ALT+SUPPR button on the VNC console to unlock the server and enter your Administrator password.
You are now logged into the Windows VPS. We will move on to the network configuration step.
To do this, go to the Start menu:

On the right side, select Control Panel:
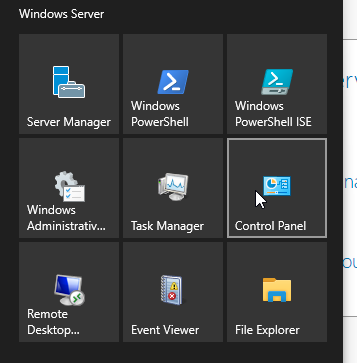
Once in the control panel, click Network and Internet :

Then click Network and sharing center:

Finally, on the left side, click Change adapter settings:
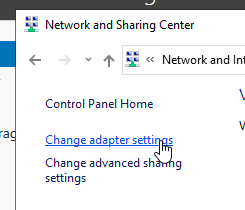
On the network interface shown in the following window, right-click the interface and then click Properties :
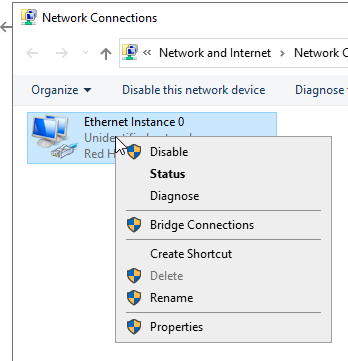
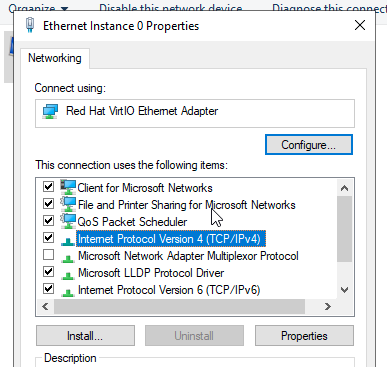
In the Properties submenu, click Internal Protocol Version 4 (TCP/IPv4) and then Properties :
After retrieving the IP settings from the management panel, you need to fill in the settings as follows:
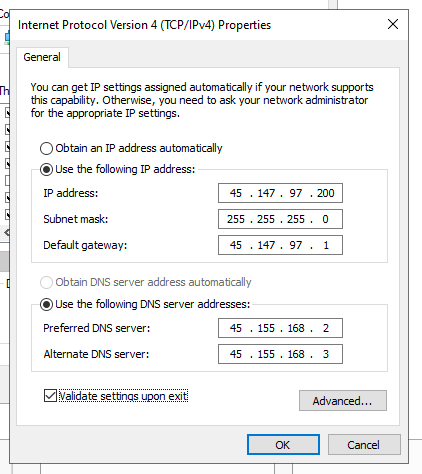
Then check the Validate settings upon exit box and click OK.
Next, we will do the same for IPv6. To do this, go to Internal Protocol Version 6 (TCP/IPv6) :
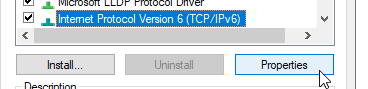
Also click Properties to open the configuration details. As with IPv4, fill in the settings with the information retrieved from the VPS management panel:
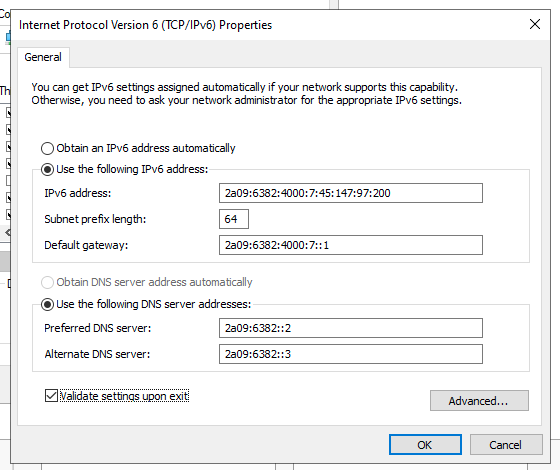
Then check the Validate settings upon exit box and click OK.
Finally, you can close the network configuration window:
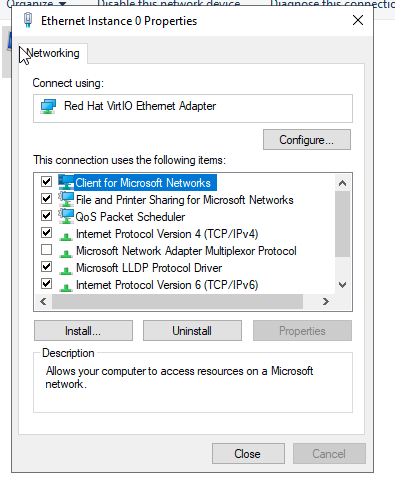
Windows will then ask you about network discovery:
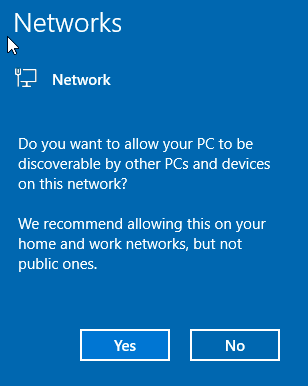
Since this is a server on a Public network, we recommend choosing No.
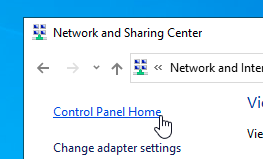
The next step concerns enabling remote access. To do this, return to the control panel home by choosing the Control panel home tab in the left menu:
Click System and Security:
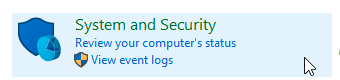
Then, in the System category, choose Allow remote access :

By default the option is disabled:
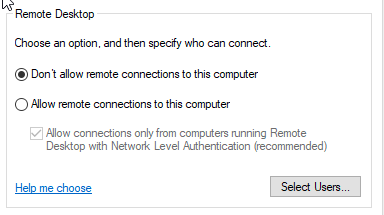
Click Allow remote connections to this computer to enable remote RDP:
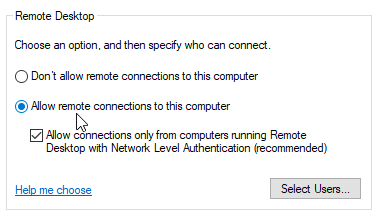
Click Apply and then OK. Remote desktop connection is now functional.
For the rest of this guide, you can connect using the IP of the VPS server and the Administrator username whose password you set earlier, from the Remote Desktop Connection application if you have a Windows computer, or Microsoft Remote Desktop if you have a macOS computer.
Once connected to the server via RDP, you can install qemu-agent. This is an agent that allows our hypervisor to communicate with the Windows system and improve stability, especially during automatic backups of your VPS.
To do this, download the qemu-agent software from the following URL onto the VPS server: https://dl.pulseheberg.net/qemu-ga-x86_64.msi
Once the download is complete, double-click qemu-ga-x86_64.msi and wait a few moments.
Now that this step is done, your Windows VPS server is fully installed and functional.
